
Wednesday, 28 March 2012

Wednesday, 21 March 2012
Further Experimentation
Connecting the points between the rings proved quite difficult to figure out. First I had to duplicate the entire model, shift/offset/displace it vertically by a some distance so that now the two sets of rings were apart (but still looked like one tower/one set of rings). I then reconfigured the flowgraph so that both rings would move and generate random points at the same time. After that I attempted to join the rings by using the line node but It only connected two rings at a time:


So with the help of the tutor (Danny) we managed to extract some of the values and connect the points all together (through flattening):
(Randomization and Rotation factor set at 17)


However when changing the values of the rotation and randomisation of points, strange things happen...
(Randomization and Rotation factor set at 12)

Draft Model
Here is the draft of the upcoming model
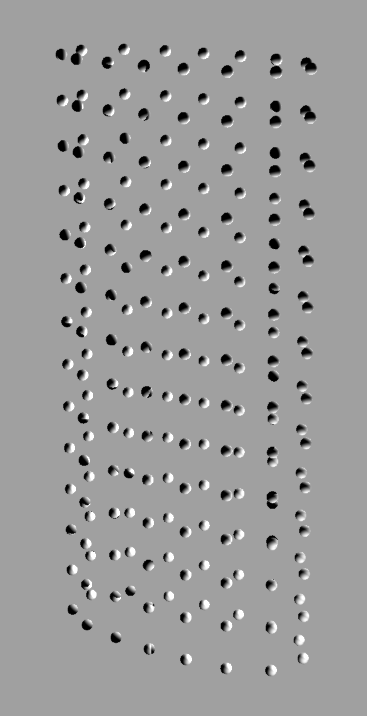
Model displaying randomised points at a rotation/random factor of zero.
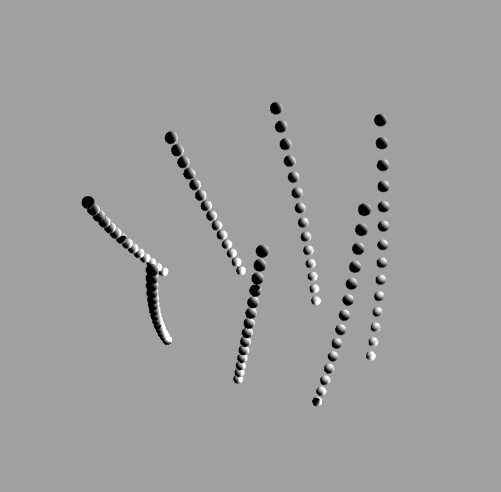

Model displaying randomised points at a rotation/random factor of two.


Model displaying randomised points at a rotation/random factor of four.

Model displaying randomised points at a rotation/random factor of twelve.


Model displaying randomised points at a rotation/random factor of fourteen.


Model displaying randomised points at a rotation/random factor of twenty-nine (near maximum).


Model displaying a rotation/random factor of zero.


Model displaying a rotation/random factor of eighteen.


Model displaying a full rotation/random factor.
The next step after this draft model is to physically connect each 'point' (in the z axis) to create pipes that run the entire height of the model. The pipes would then also be randomised and rotated with the main body of the model as rotation/random iteration values increased.
Experimental Model
After finding a few tutorials on the internet (that focused on randomized points) I developed this side model to see how certain nodes functioned and to find out what worked and what didn't.


Student tutorials
Tutorial One
http://www.youtube.com/watch?v=Bn5RDfRQA0w&feature=relmfu
http://www.youtube.com/watch?v=AP5PxBn_5rc&feature=relmfu
http://www.youtube.com/watch?v=Bn5RDfRQA0w&feature=relmfu
http://www.youtube.com/watch?v=AP5PxBn_5rc&feature=relmfu
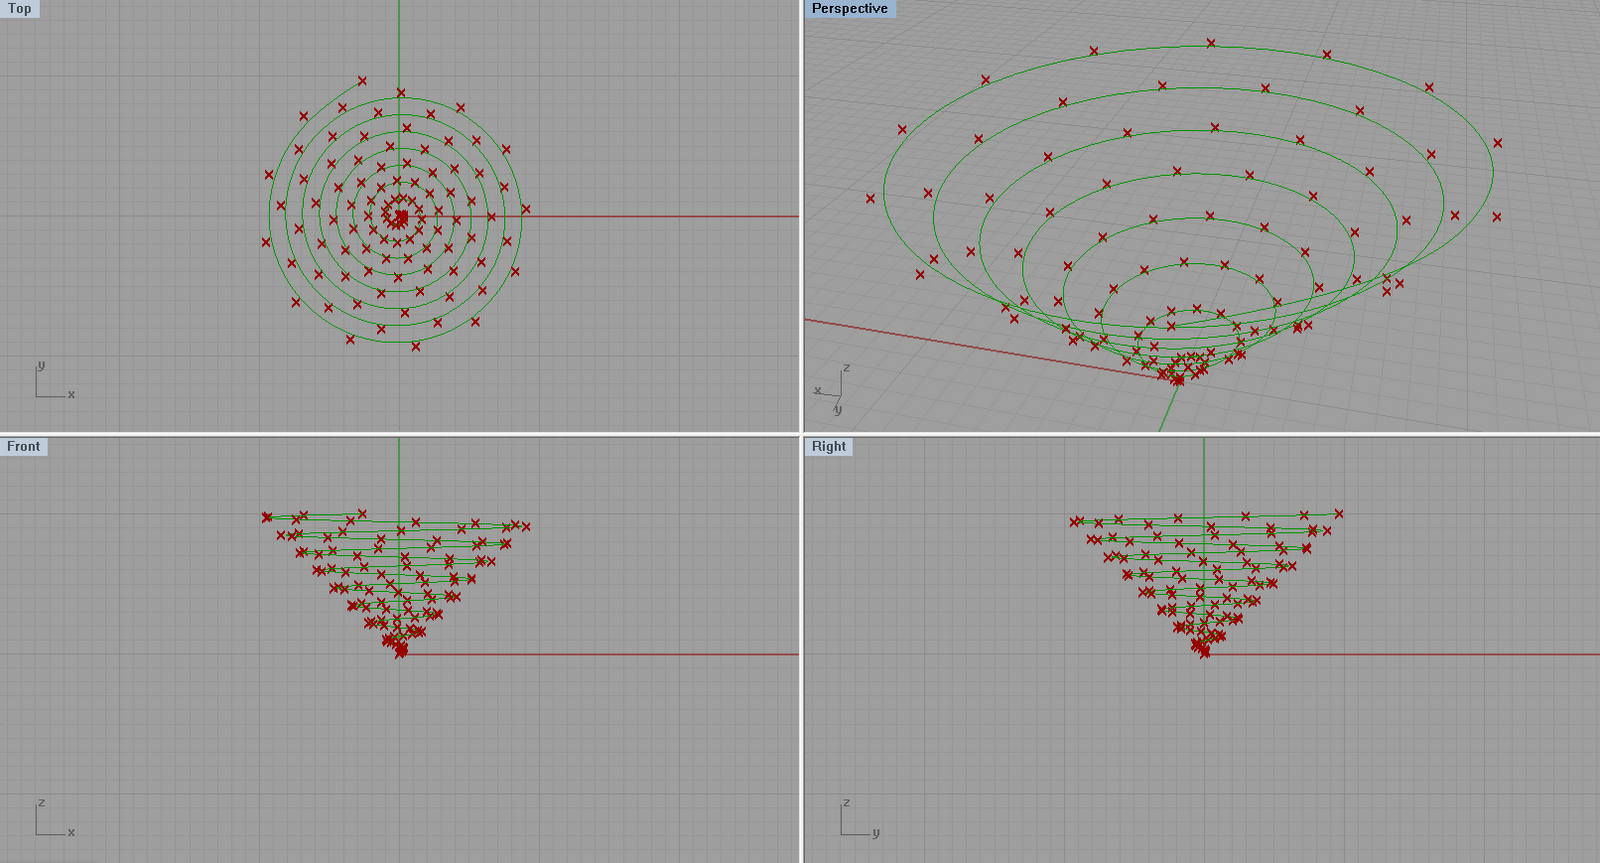

Tutorial Two
http://www.designalyze.com/?p=3


Wednesday, 14 March 2012
Further Research
It turns out that the formation of tree bark mimics that of human skin! New bark layers are formed underneath the outer bark with the outer bark layer actually being decaying/old protective tree skin that has hardened. The formation of new bark is continuous and therefore the actual tree bark pattern/system is also constantly changing.
http://www.ces.ncsu.edu/depts/hort/consumer/factsheets/trees-new/text/tree_anatomy.html
I found this rather interesting image of tree bark when researching different types of trees:

http://www.allposters.com.au/-sp/A-Close-View-of-White-Birch-Bark-posters_i3568637_.htm
Unlike 'traditional' treebark with is jagged vertical edges, this kind of bark (from a white birch tree) is remarkably smoother and has small uncomplicated horizontal lines running across the entire surface. Just goes to show how diverse and contrasting something as simple as bark can be.
I found another skeletal kind of structure similar to what I have in mind for the design:

http://www.architypereview.com/17-train-stations/projects/465-randstadrail-station-beatrixlaan
This kind of design is what I had in mind for my own, except in this design everything is organised and neat (unlike jagged random treebark). The cylindrical profile and the slight curves/bends of the cylindrical profile in this architecture (along the longitudinal axis) is what I'm more interested for a physical form for my model.
http://www.ces.ncsu.edu/depts/hort/consumer/factsheets/trees-new/text/tree_anatomy.html
-----------------------
I found this rather interesting image of tree bark when researching different types of trees:

http://www.allposters.com.au/-sp/A-Close-View-of-White-Birch-Bark-posters_i3568637_.htm
Unlike 'traditional' treebark with is jagged vertical edges, this kind of bark (from a white birch tree) is remarkably smoother and has small uncomplicated horizontal lines running across the entire surface. Just goes to show how diverse and contrasting something as simple as bark can be.
-----------------------

http://www.architypereview.com/17-train-stations/projects/465-randstadrail-station-beatrixlaan
This kind of design is what I had in mind for my own, except in this design everything is organised and neat (unlike jagged random treebark). The cylindrical profile and the slight curves/bends of the cylindrical profile in this architecture (along the longitudinal axis) is what I'm more interested for a physical form for my model.
Skeletal Structure
The tree bark idea could be formed into a type of cylindrical skeletal structure. The flowing jagged edges could serve as structural 'ribs', with segments at certain (predetermined by user values) lengths serving as aesthetic breaks in the model/architecture. All these jagged edges would be arranged to follow the cylindrical profile of a tree trunk. At this point of time, I'm aiming for the structure/design/model to be building sized, serving as a kind of office or bridge or walkway. Maybe even all three.
I got this idea vaguely from architect Ron Arad's work that I studied lightly last year in ARCH 1390:
http://jason1390.blogspot.com.au/2011/07/chosen-architect-ron-arad.html
http://jason1390.blogspot.com.au/2011/07/more-on-architect-ron-arad.html
Specific images I got the idea from:


I got this idea vaguely from architect Ron Arad's work that I studied lightly last year in ARCH 1390:
http://jason1390.blogspot.com.au/2011/07/chosen-architect-ron-arad.html
http://jason1390.blogspot.com.au/2011/07/more-on-architect-ron-arad.html
Specific images I got the idea from:


Subscribe to:
Posts (Atom)